Table of Contents
PGit enable Learners to work collaboratively and to track and rollback changes made to the files throughout the project.
A. CREATE A REPOSITORY ON PGIT #
To create a repository on PGit, you need to do the following steps:
Step 1. Login to PGit #
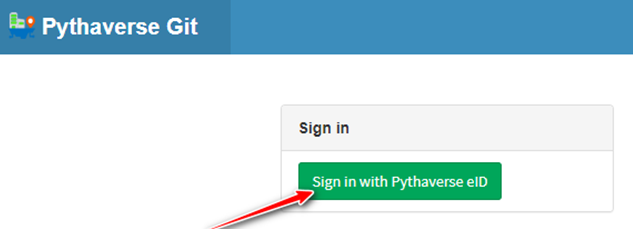
- Visit to the link https://git.pythaverse.space/, click ‘Sign in with Pythaverse eID’ button.
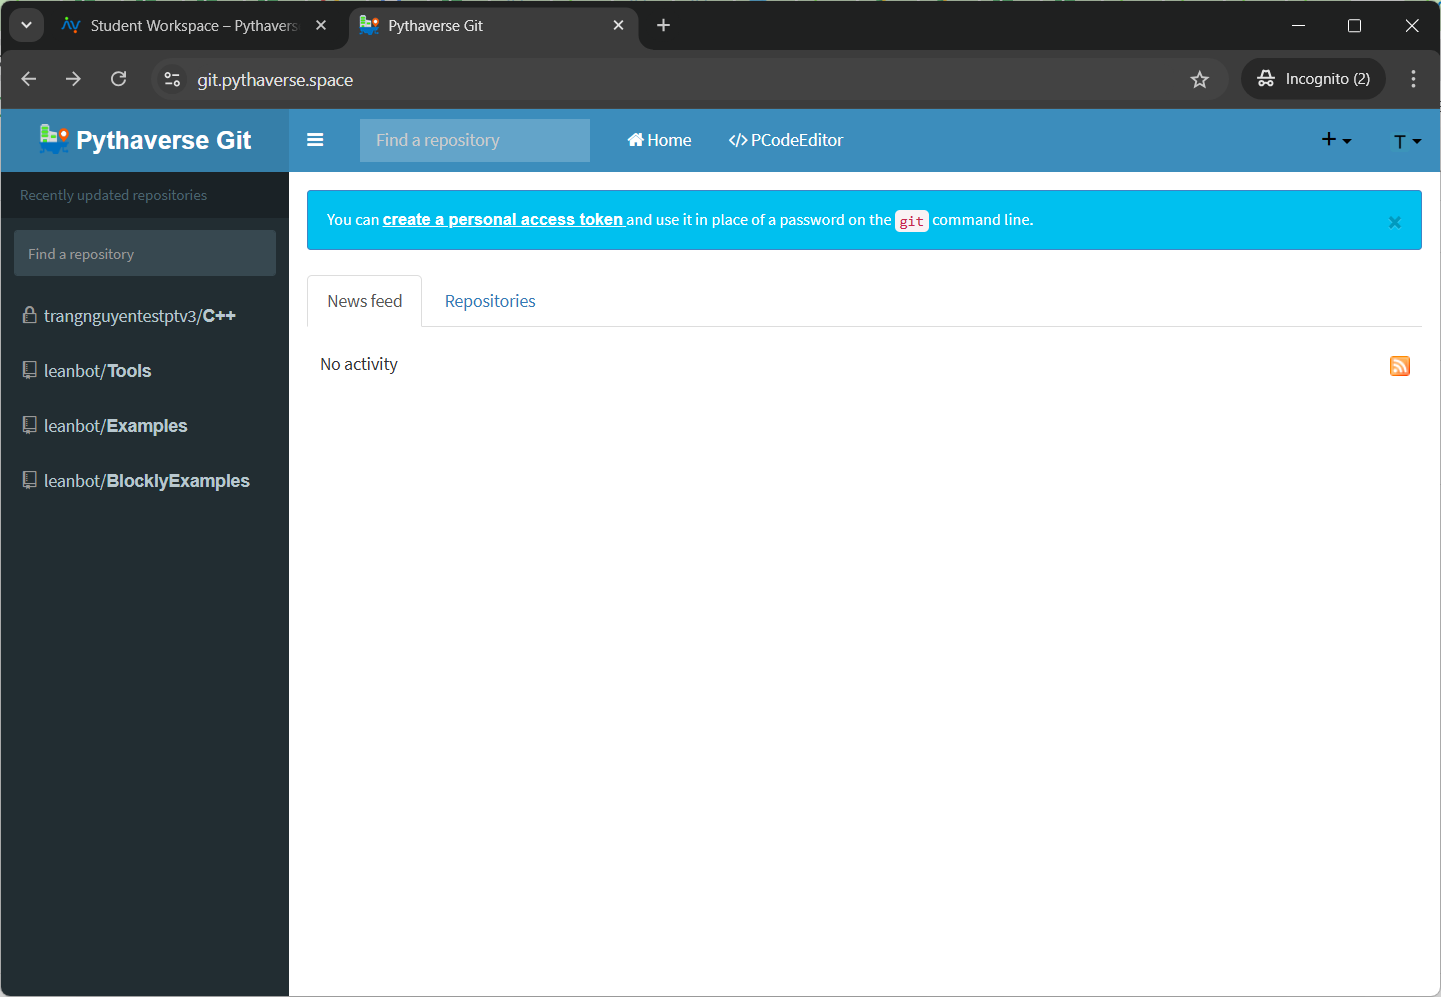
- Login to PGit successfully
Step 2. Click ‘New repository’ #
You can create a new repository on your personal account or any organization where you have sufficient permissions
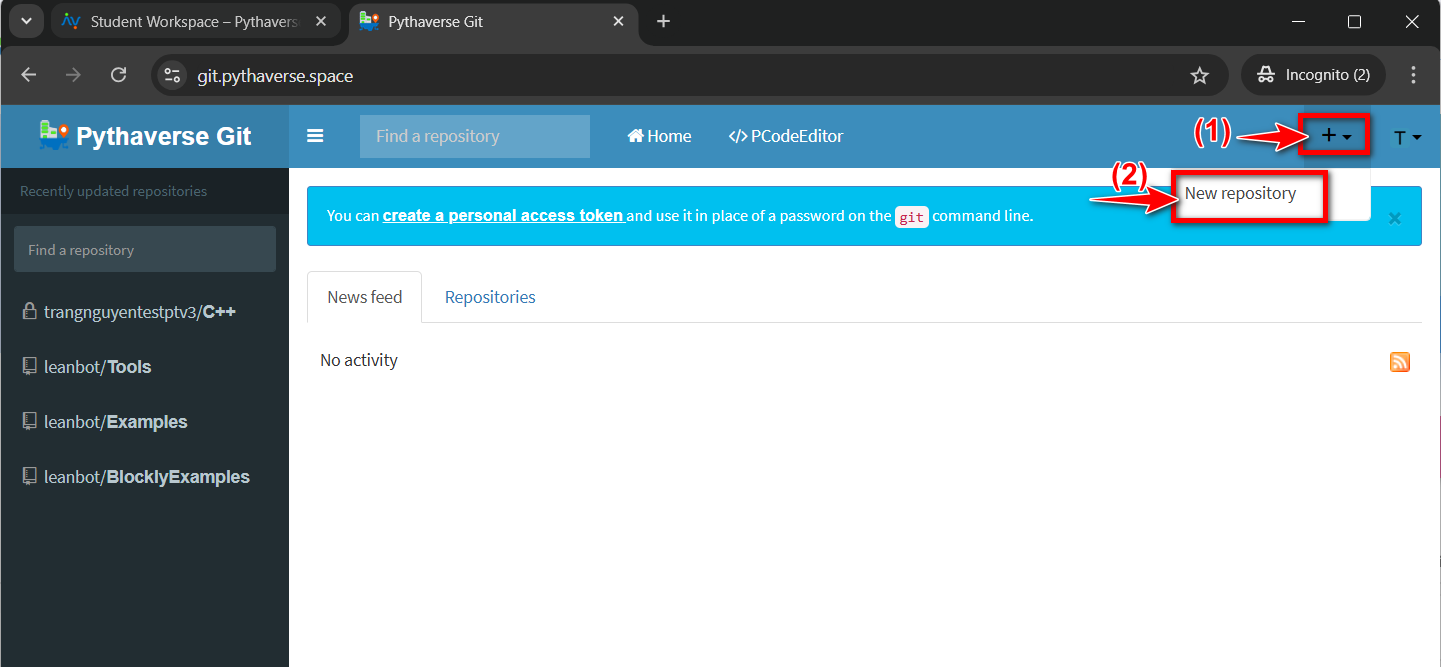
- In the upper-right corner of any page, use the drop-down menu (1), and select ‘New repository’ (2).
- Enter your ‘Repository name’: type a name for your repository (1), and add a description of your repository.
- You choose ‘Initialize this reponsitory with an empty commit‘ (2)
- Next, press the ‘Create repository’ (3) button.
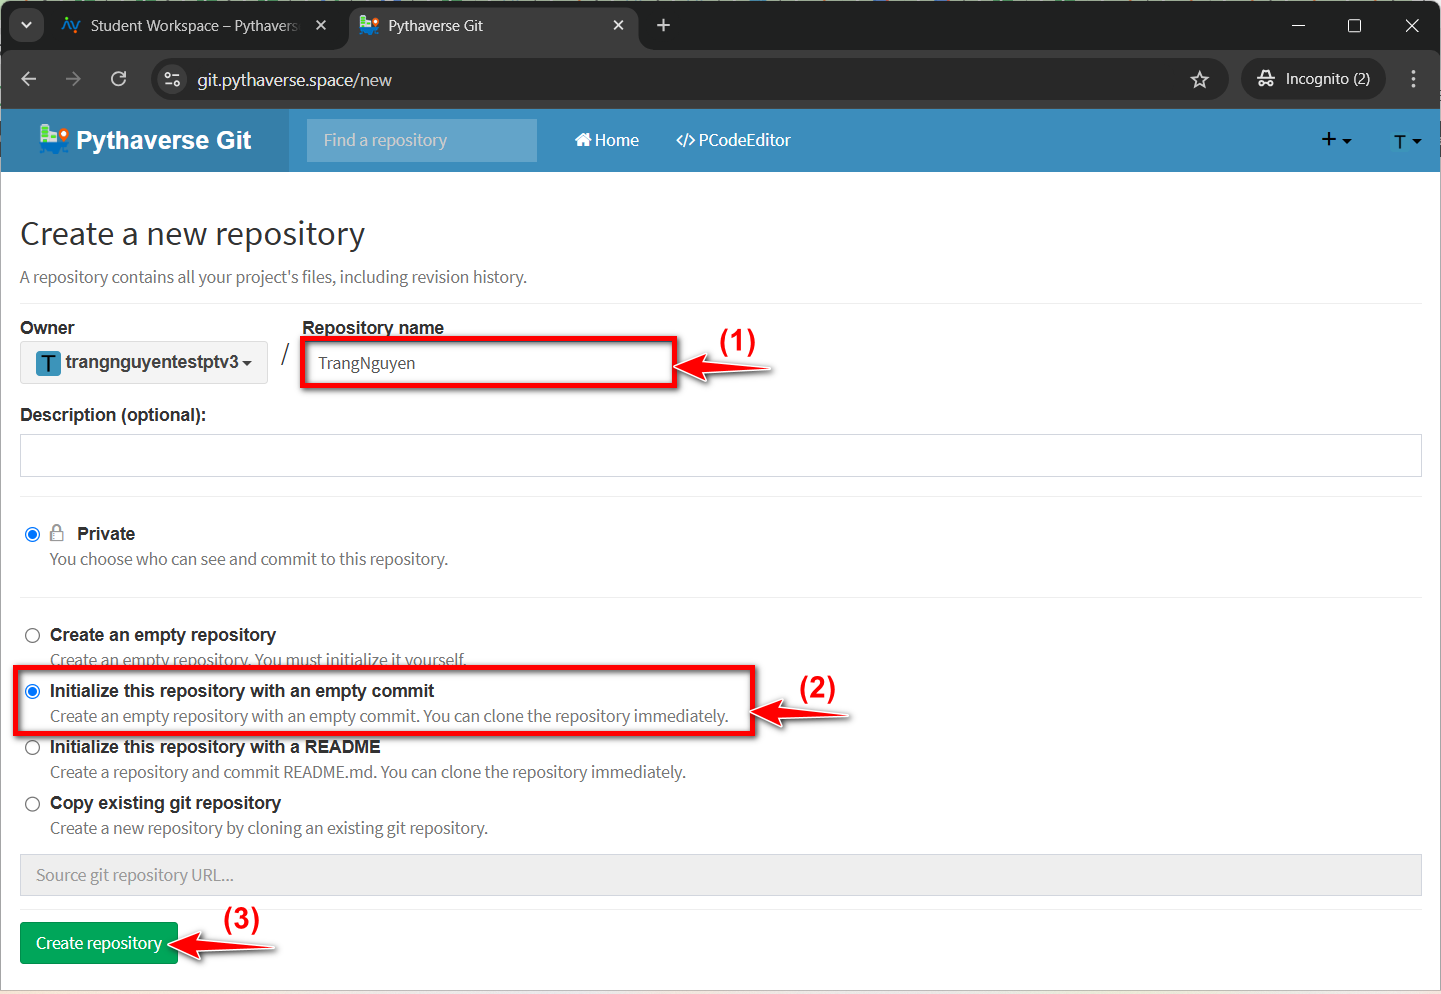
- Repository created successfully
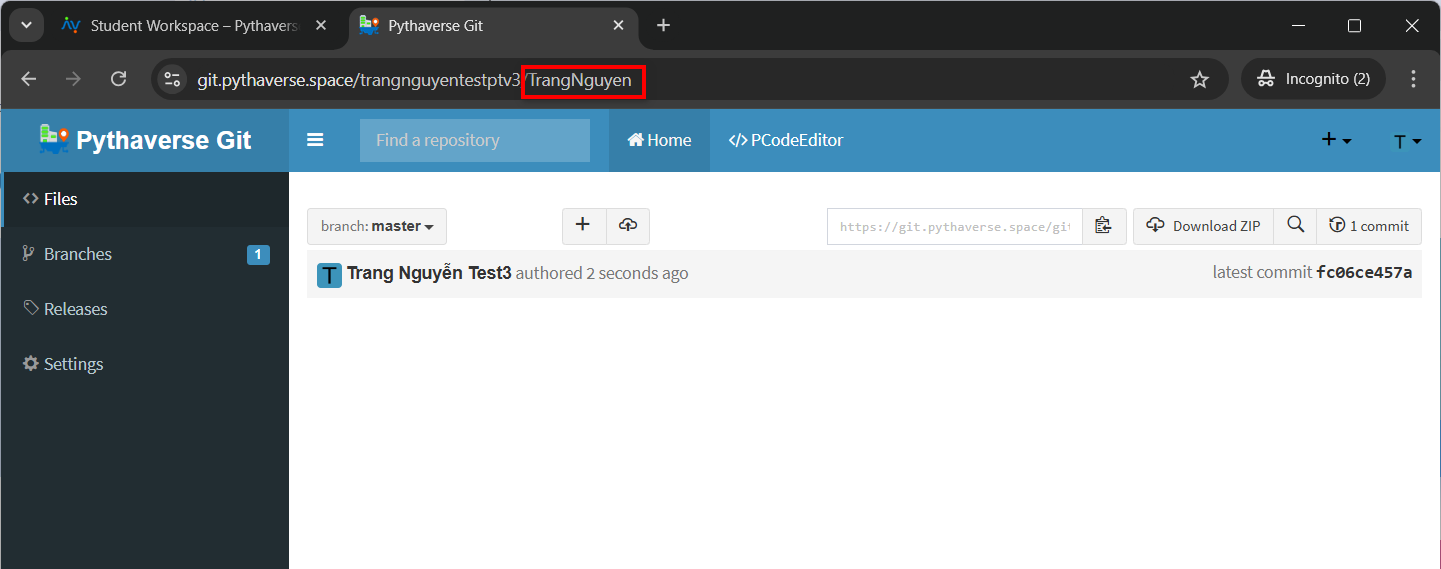
B. RENAME A REPOSITORY ON PGIT #
- To rename a repository, you click to ‘Settings’ (1)
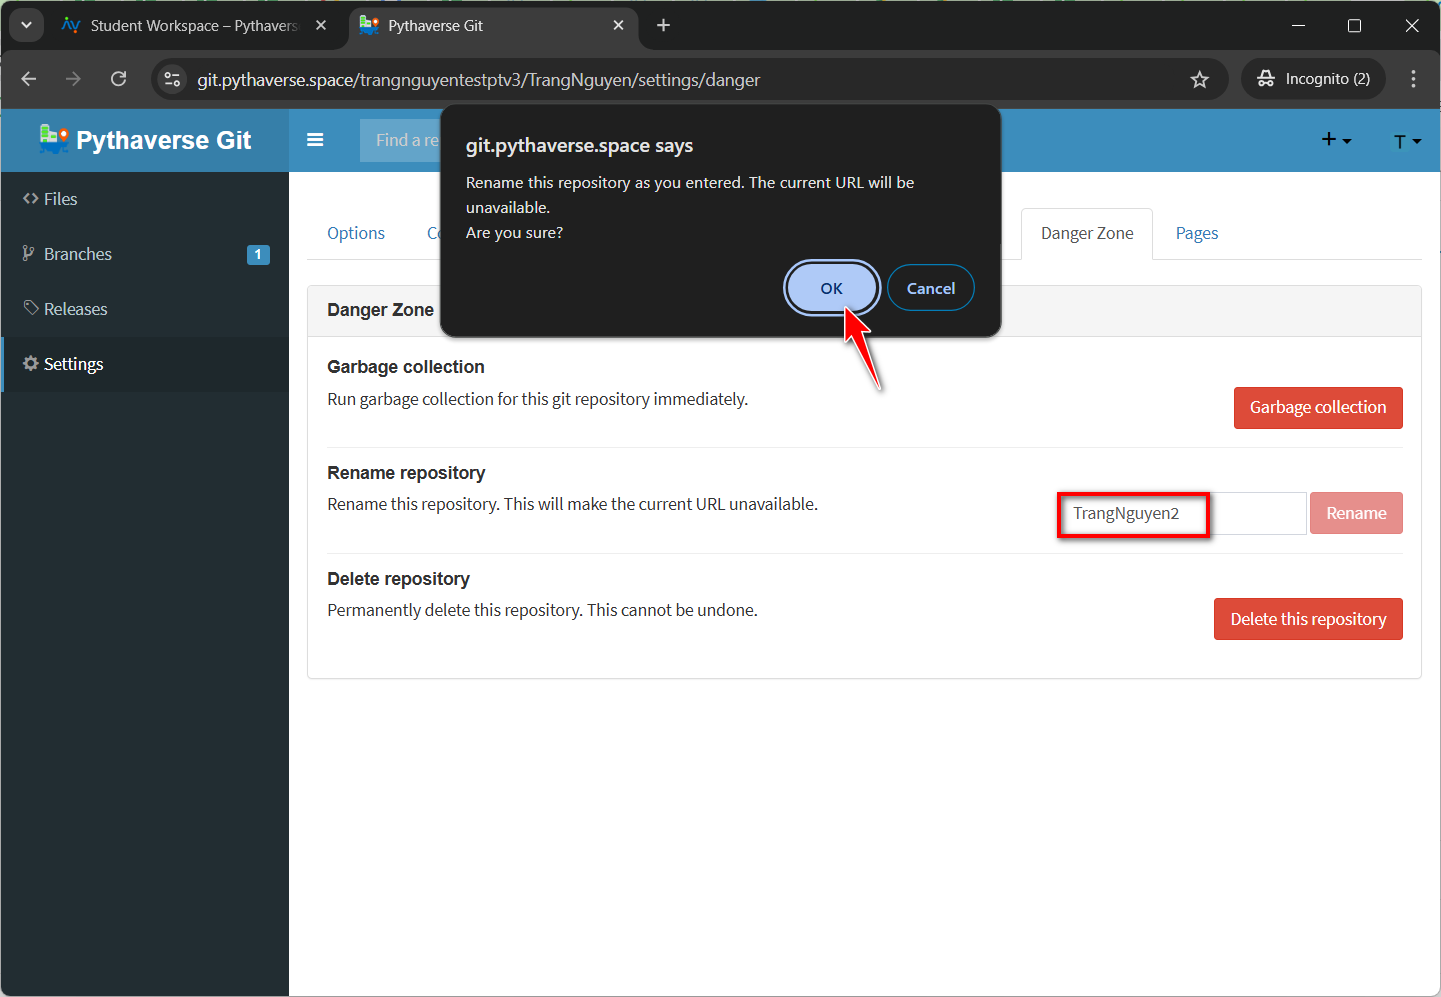
- Select the ‘Danger Zone’ tab (2).
- At the ‘Rename repository’ section, enter a new repository name (3) and click the ‘Rename’ (4) button.

- Click the ‘OK’ button to confirm the repository rename
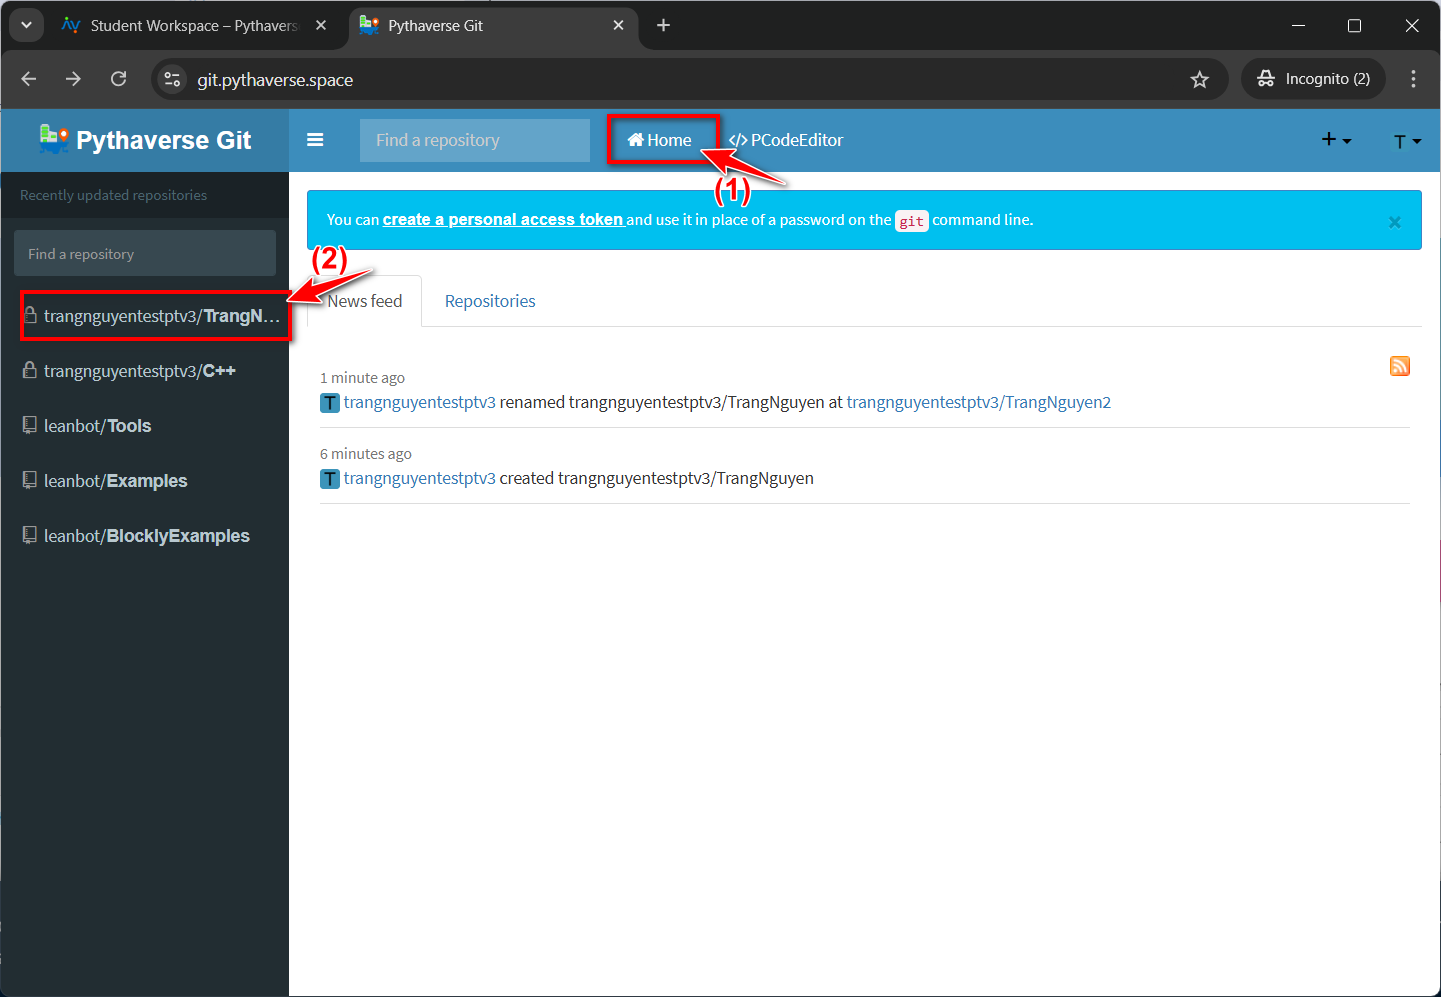
C. HOW TO SAVE PROGRAMMING CODE FILES ON PGIT #
- On PGIt, select one of your repositories to save the code files.
- Then, click on ‘Create a new file’.
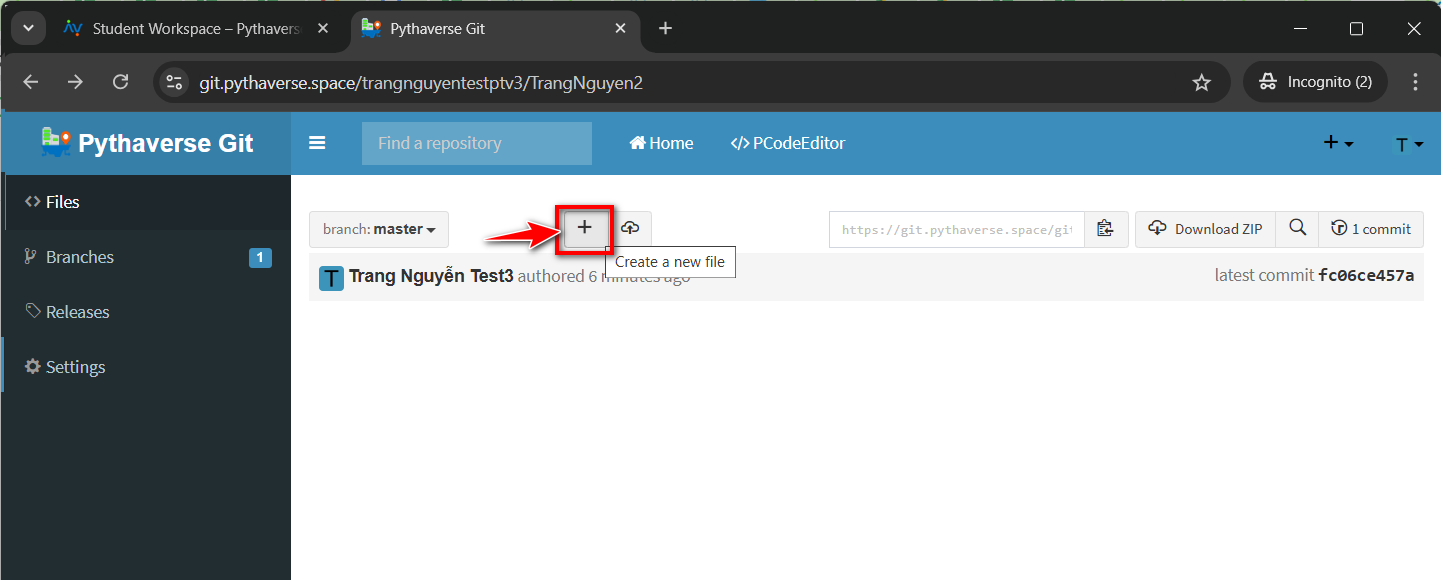
- Copy the code program created on PIDE and paste it into the file (1), give the file a name (2), and click the ‘Commit changes’ button (3) to create the file and save the information.
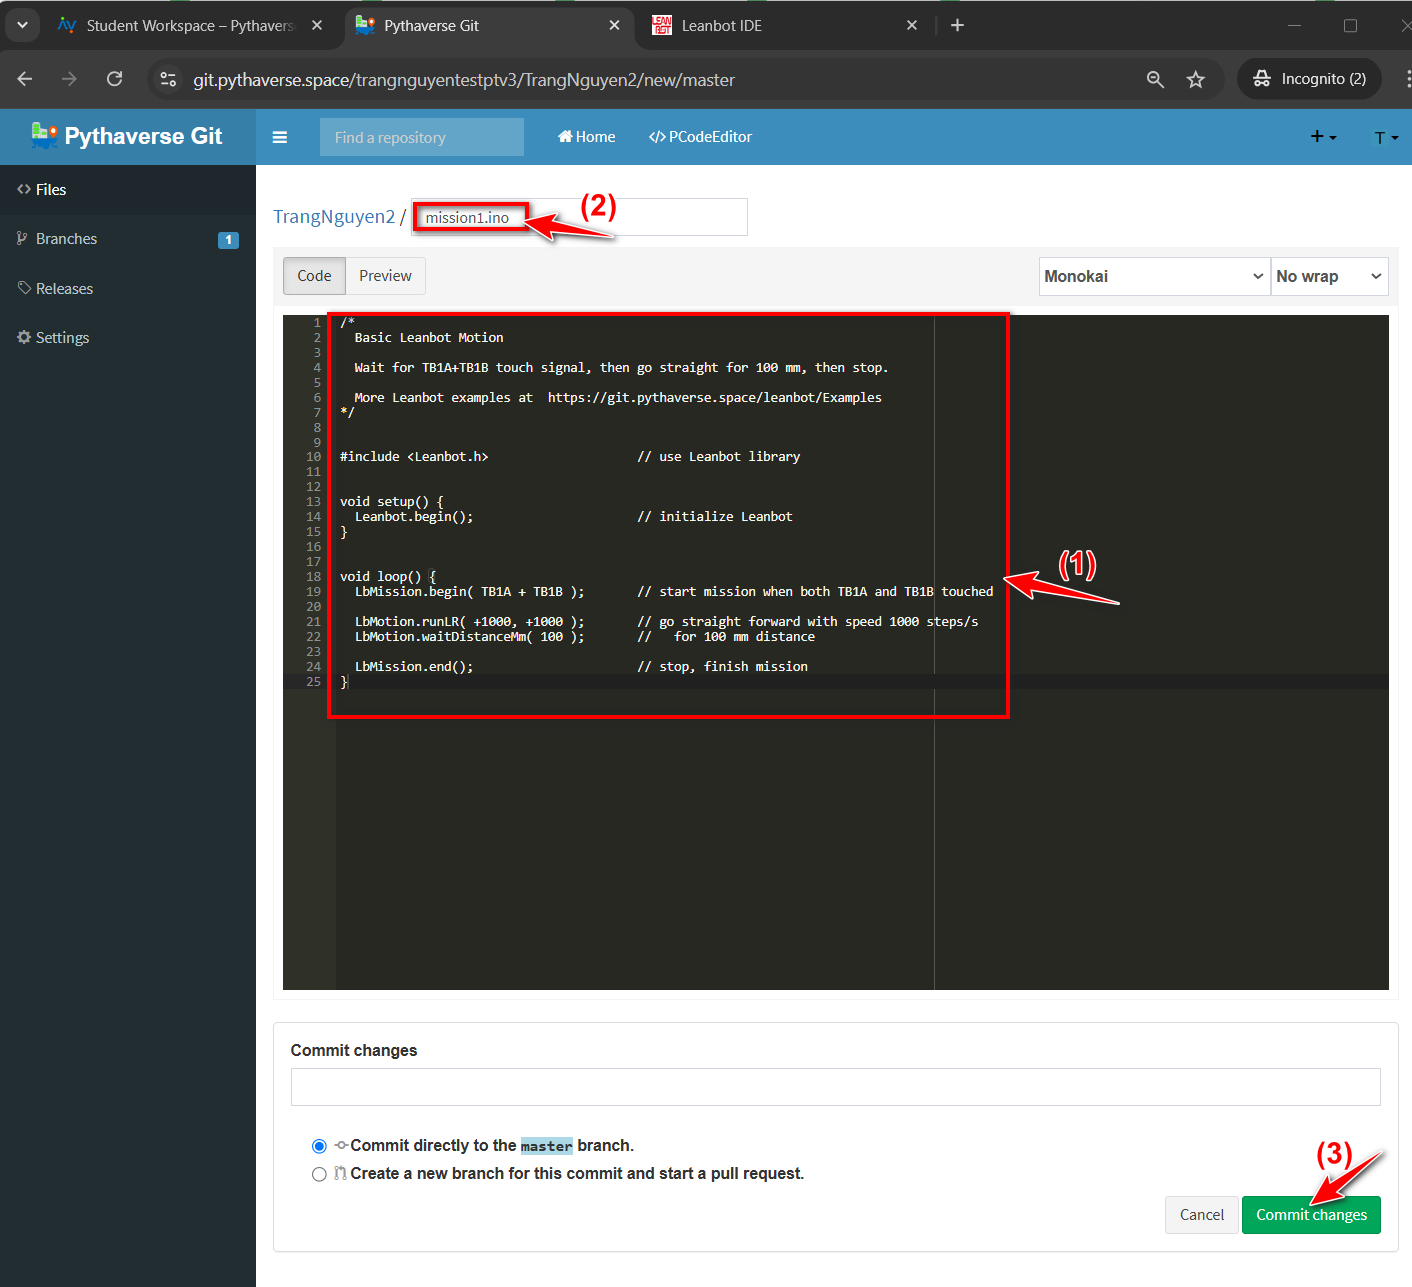
- Your program file has been successfully created and saved on PGit.