A. INTRODUCTION TO PTUTOR #
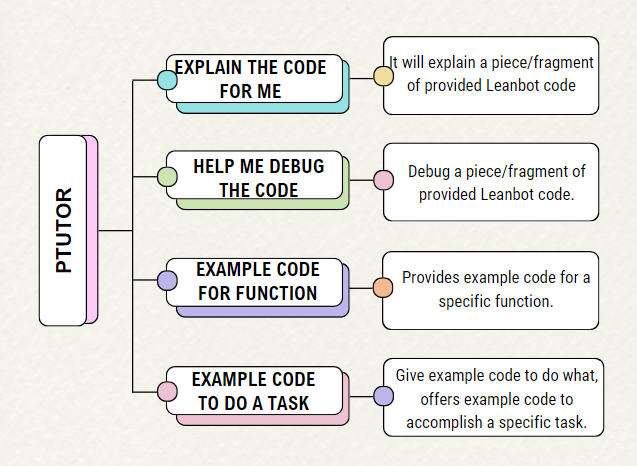
PTutor is an AI (Artificial Intelligence) designed to assist students in effortlessly writing code programs and enhancing the efficiency of learning Leanbot programming. PTutor helps Leanbot programming with the following main features:
B. HOW TO USE PTUTOR #
To use PTutor, users need to visit the Leanbot IDE page, then click on PTutor.
- The Leanbot IDE is a tool used for writing programs and compiling code to upload to the Leanbot robot.
- With PTutor, users will quickly comprehend the meaning of each command line, code segment, functions used or debug the programming your code programs.
I. ACCESS LEANBOT IDE TO PROGRAMMING LEANBOT #
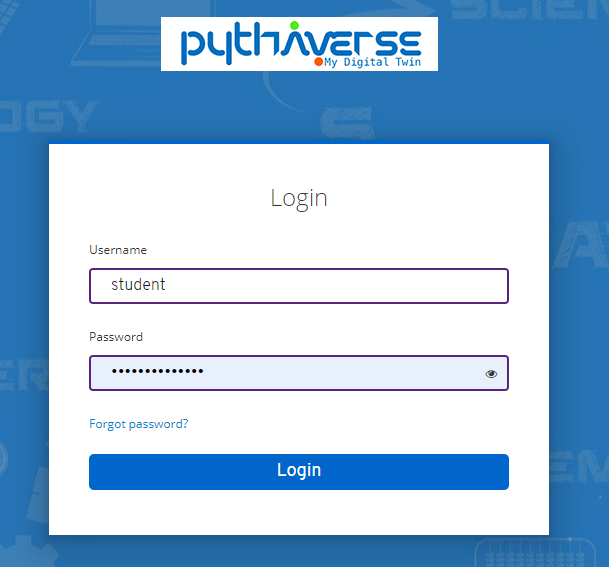
STEP 1. LOG IN TO THE LEANBOT IDE #
- Access Leanbot IDE from your course on PLearn, or directly to link https://ide.pythaverse.space/ to write a program for the Leanbot robot.
- You need to log in to your Pythaverse account, then click “Login” button (if not logged in):
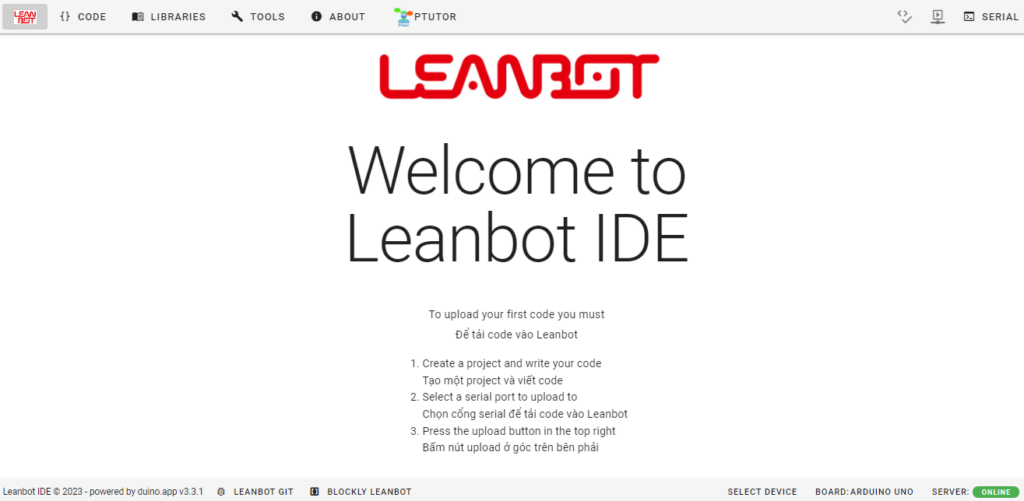
- Go to the Leanbot IDE page interface after successfully logging in:
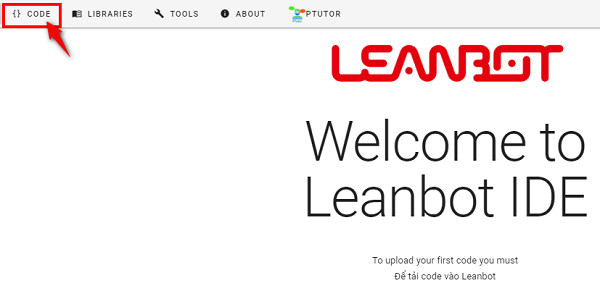
STEP 2. SELECT “CODE” AND CREATE NEW PROJECT #
- Select “CODE”
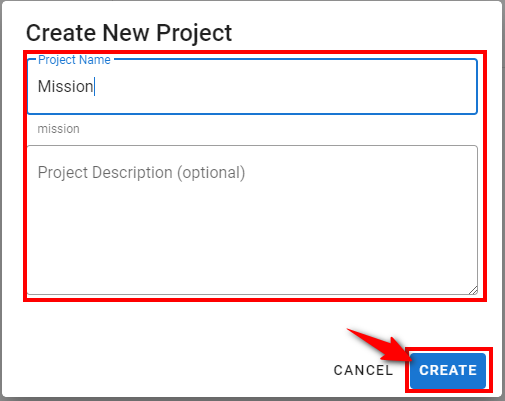
- Create New Project: enter Project Name and click “CREATE”
STEP 3. WRITING PROGRAMS FOR LEANBOT #
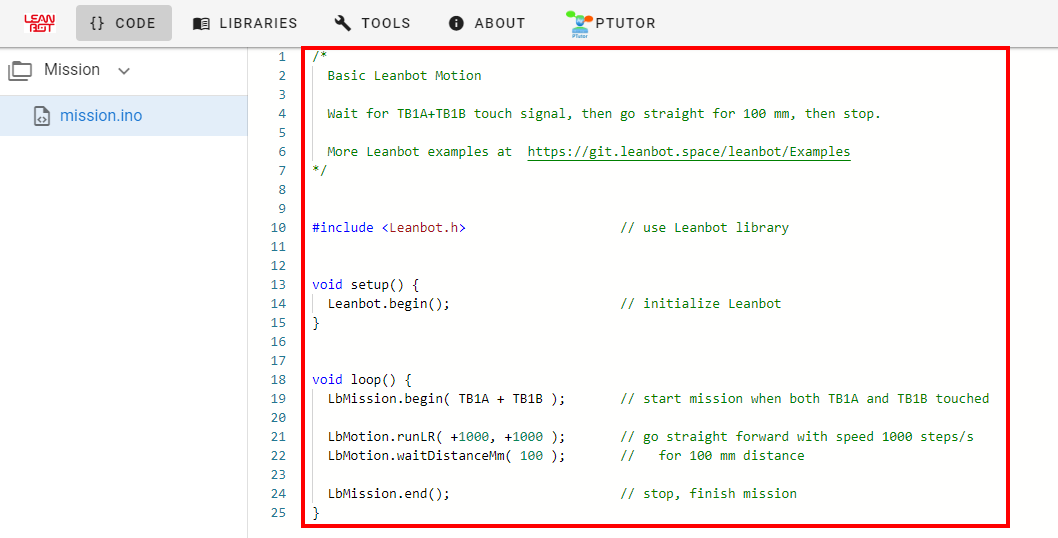
On Leanbot IDE, users perform programming to run Leanbot as shown below:
STEP 4. CHECK THE PROGRAM ON PTUTOR #
To better understand and check the correctness of your program, you can refer to PTutor in the section ‘PTUTOR USER GUIDE‘.
II. PTUTOR USER GUIDE #
ACCESS TO PTUTOR #
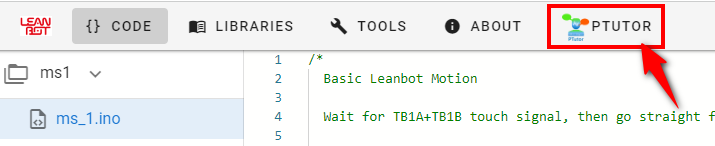
Click “PTUTOR” on Leanbot IDE
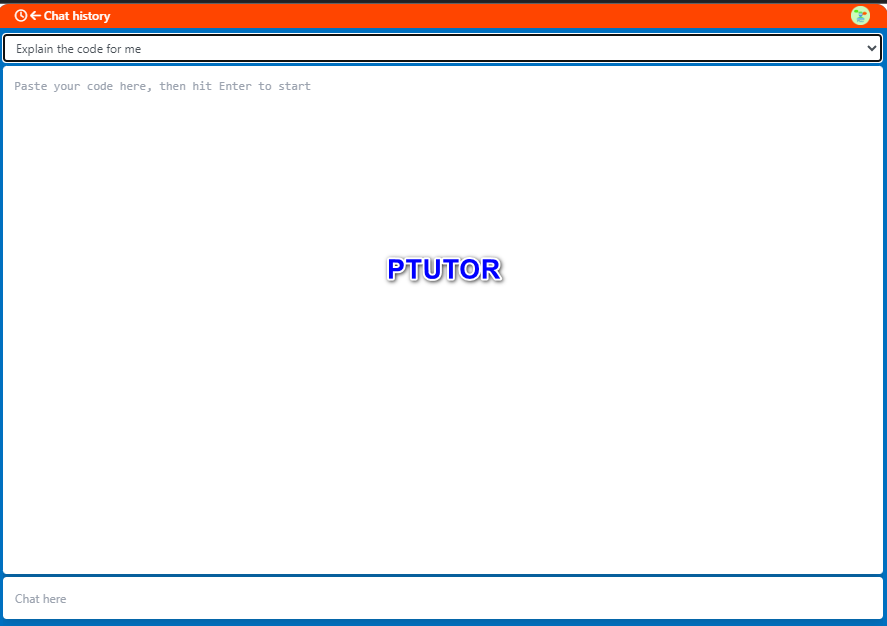
This is the PTutor interface:
HOW TO USE PTUTOR #
PTutor has four features, and its usage is as follows:

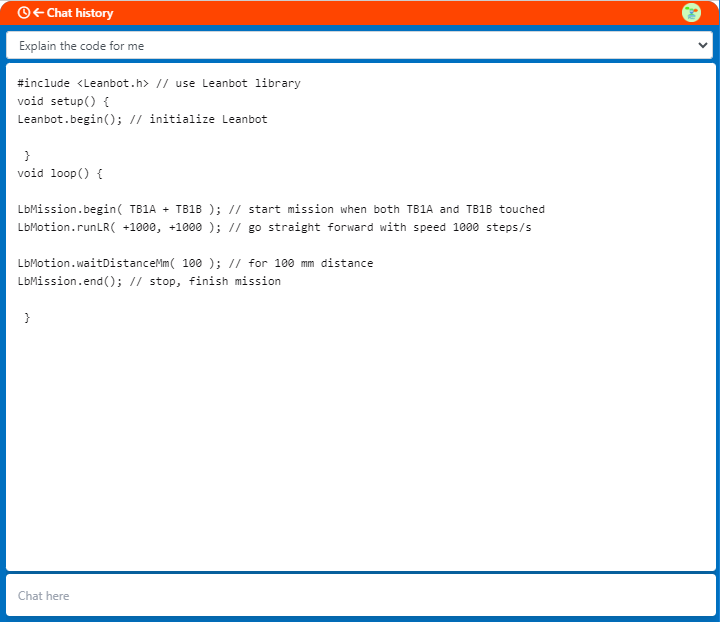
Select “Explain the code for me” #
- You need to paste your code here, then click “Enter” to start.
- For example: Copy and paste the provided sample code, then observe the results.
| #include <Leanbot.h> // use Leanbot library void setup() { Leanbot.begin(); // initialize Leanbot }void loop() { LbMission.begin( TB1A + TB1B ); // start mission when both TB1A and TB1B touchedLbMotion.runLR( +1000, +1000 ); // go straight forward with speed 1000 steps/s LbMotion.waitDistanceMm( 100 ); // for 100 mm distanceLbMission.end(); // stop, finish mission } |
- PTutor will provide feedback promptly below:
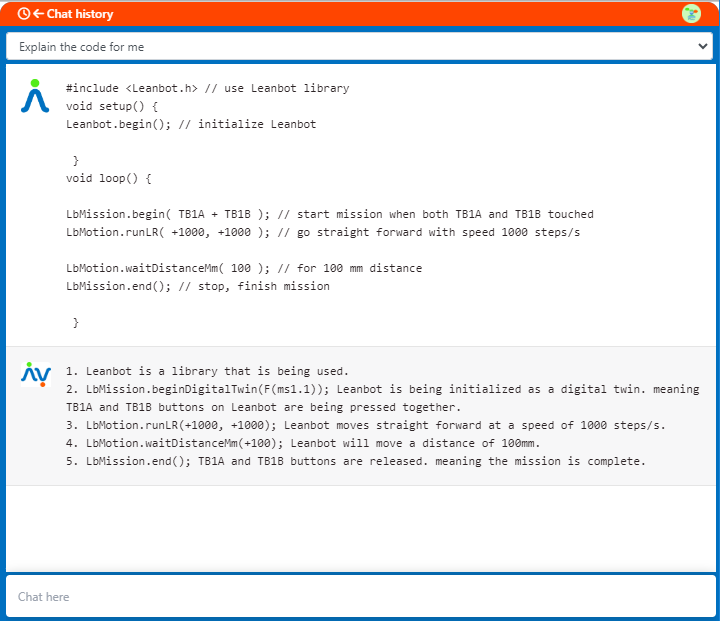
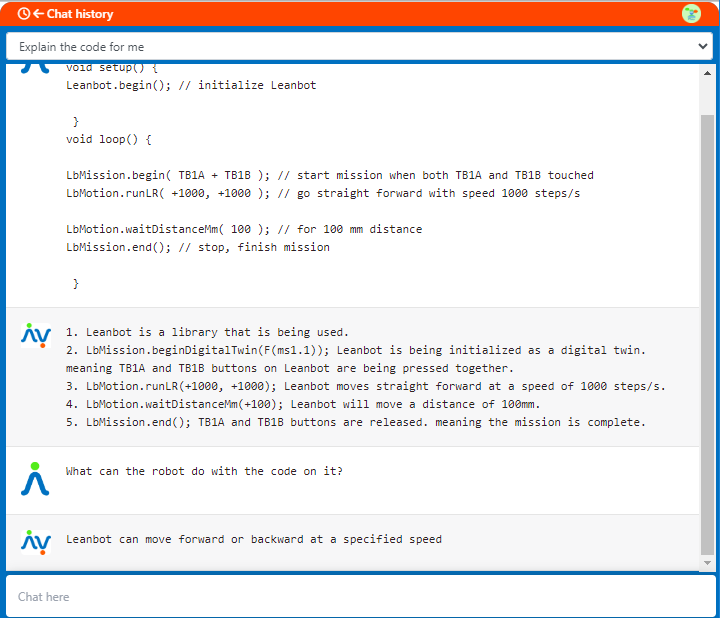
- You can utilize the chat feature to ask any additional questions if further clarification is needed, available in the ‘Chat here‘ box.
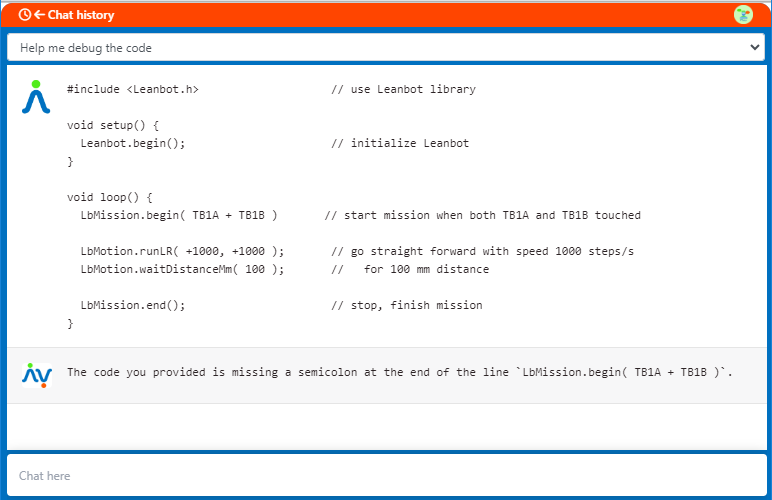
Select “Help me debug the code” #
- You need to paste your code here, then click “Enter” to start.
- For example: Copy and paste the provided sample code, then observe the results.
| #include <Leanbot.h> // use Leanbot library void setup() { Leanbot.begin(); // initialize Leanbot } void loop() { LbMission.begin( TB1A + TB1B ) // start mission when both TB1A and TB1B touched LbMotion.runLR( +1000, +1000 ); // go straight forward with speed 1000 steps/s LbMotion.waitDistanceMm( 100 ); // for 100 mm distance LbMission.end(); // stop, finish mission } |
- PTutor will provide feedback promptly below:
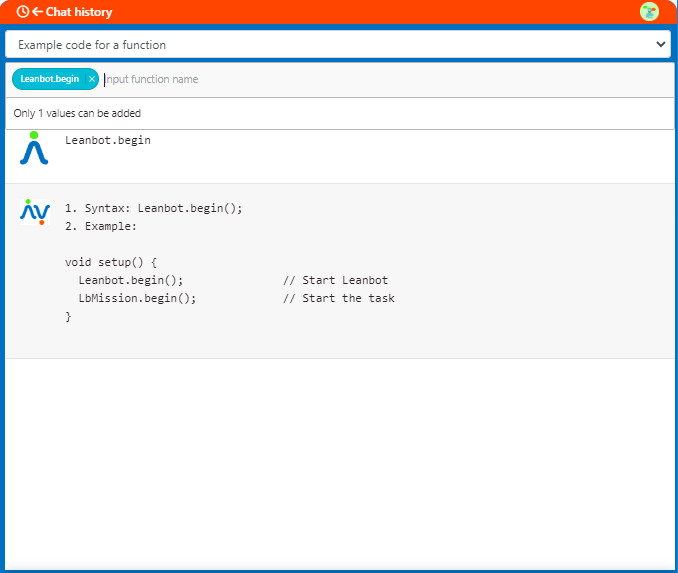
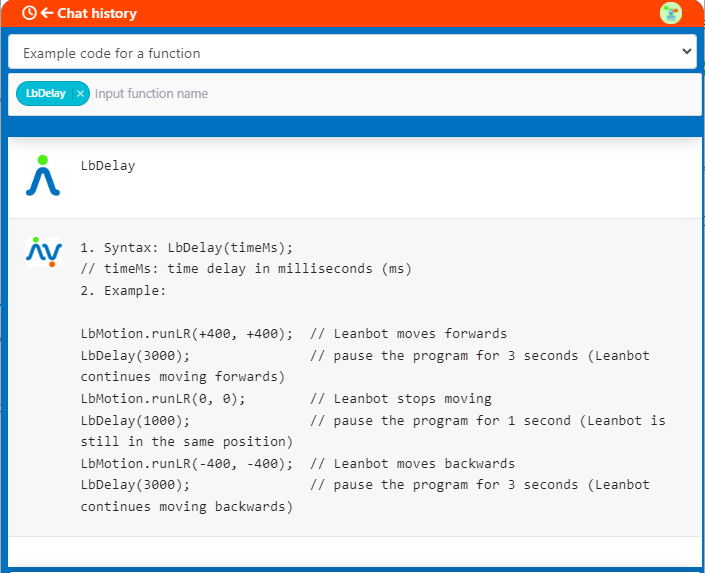
Select “Example code for function” #
Here, users can better understand the functions used to program Leanbot through specific examples.
- First, enter the function name. Just enter three characters, and PTutor will suggest functions from the corresponding Leanbot library for you to choose from.
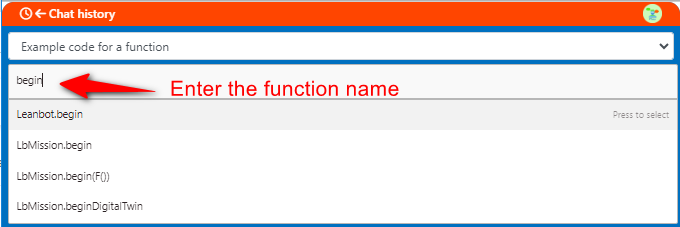
- Next, select a function and press “Enter” to view example code.
- If you wish to view another function example, simply delete the selected one, enter a new function, and press Enter.
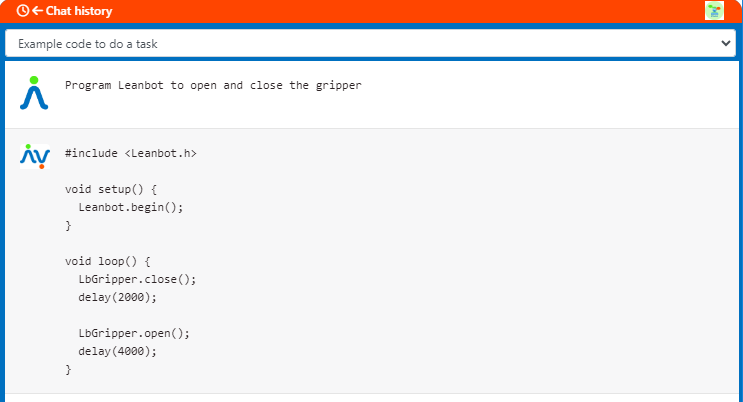
Select “Example code to do a task” #
- Enter the task description and press enter. For example, Program Leanbot to open and close the gripper.
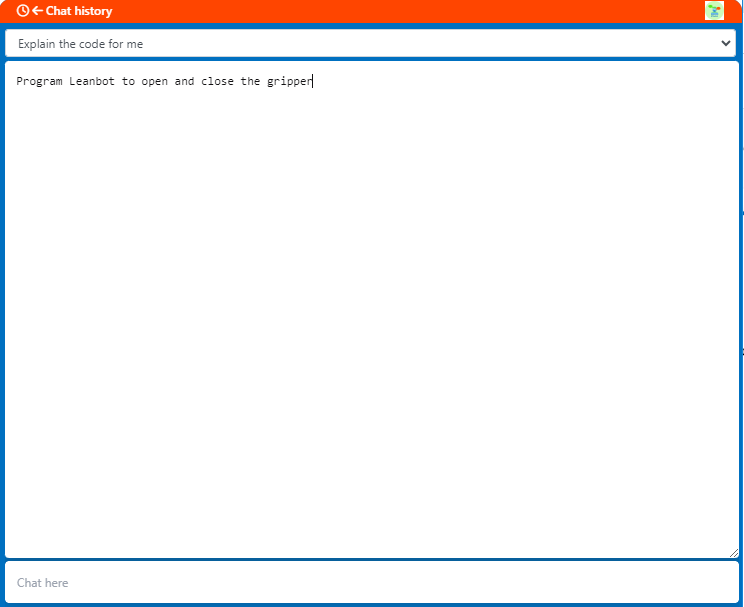
- PTutor will provide feedback below. For example:
- Users can add additional prompts in the chat box.