To program and run your own creations on the Leanbot, please follow these phases in order:
Phase 1: Initial Setup & Connection
- Step 1: Power On the Robot
- Turn on the power switch located on the Leanbot’s body.

- Step 2: Pair Bluetooth (First-Time Connection Only)
- On your computer or device, search for and connect to the Bluetooth network named Leanbot XXXXXX BLE (where XXXXXX is the ID printed on the robot’s body). [And enter the code “1234” if the system requires]
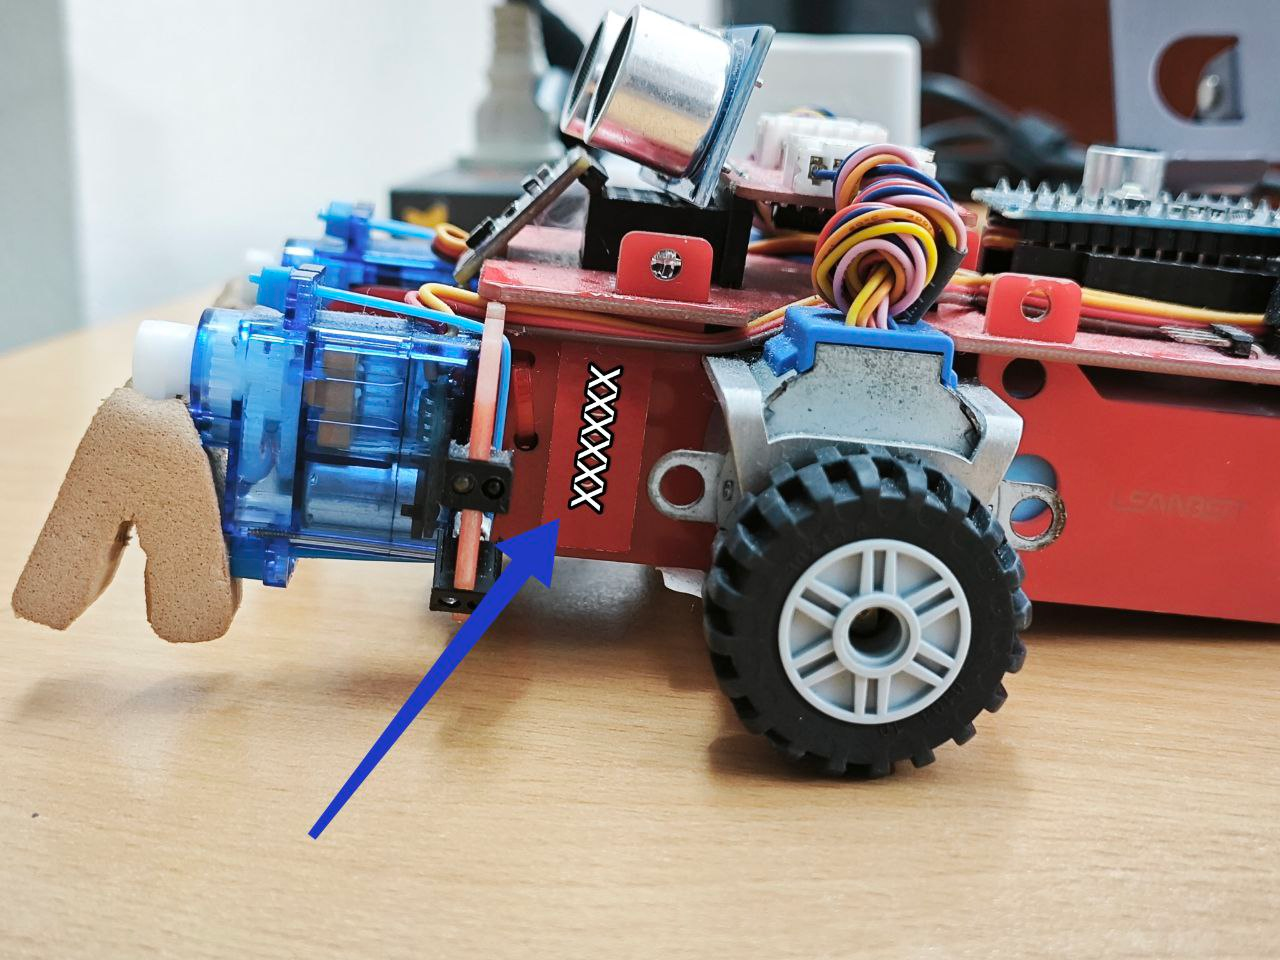
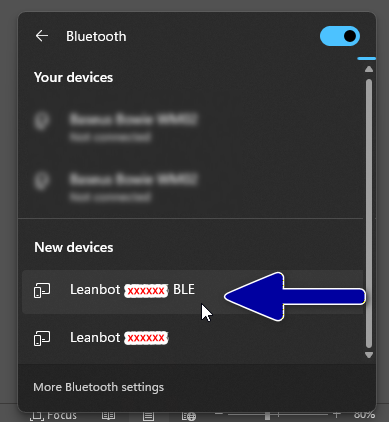
-
- You will hear a “Beep” sound from the Leanbot upon a successful connection.
(Note: You can skip this step if you have connected to this robot before).
- Step 3: Physical Connection
- Using the provided USB cable, connect the Leanbot to your computer.

Phase 2: Programming in the PIDE
- Step 4: Access the Programming Environment
- Open your web browser and access to: https://ide.pythaverse.space/#/code
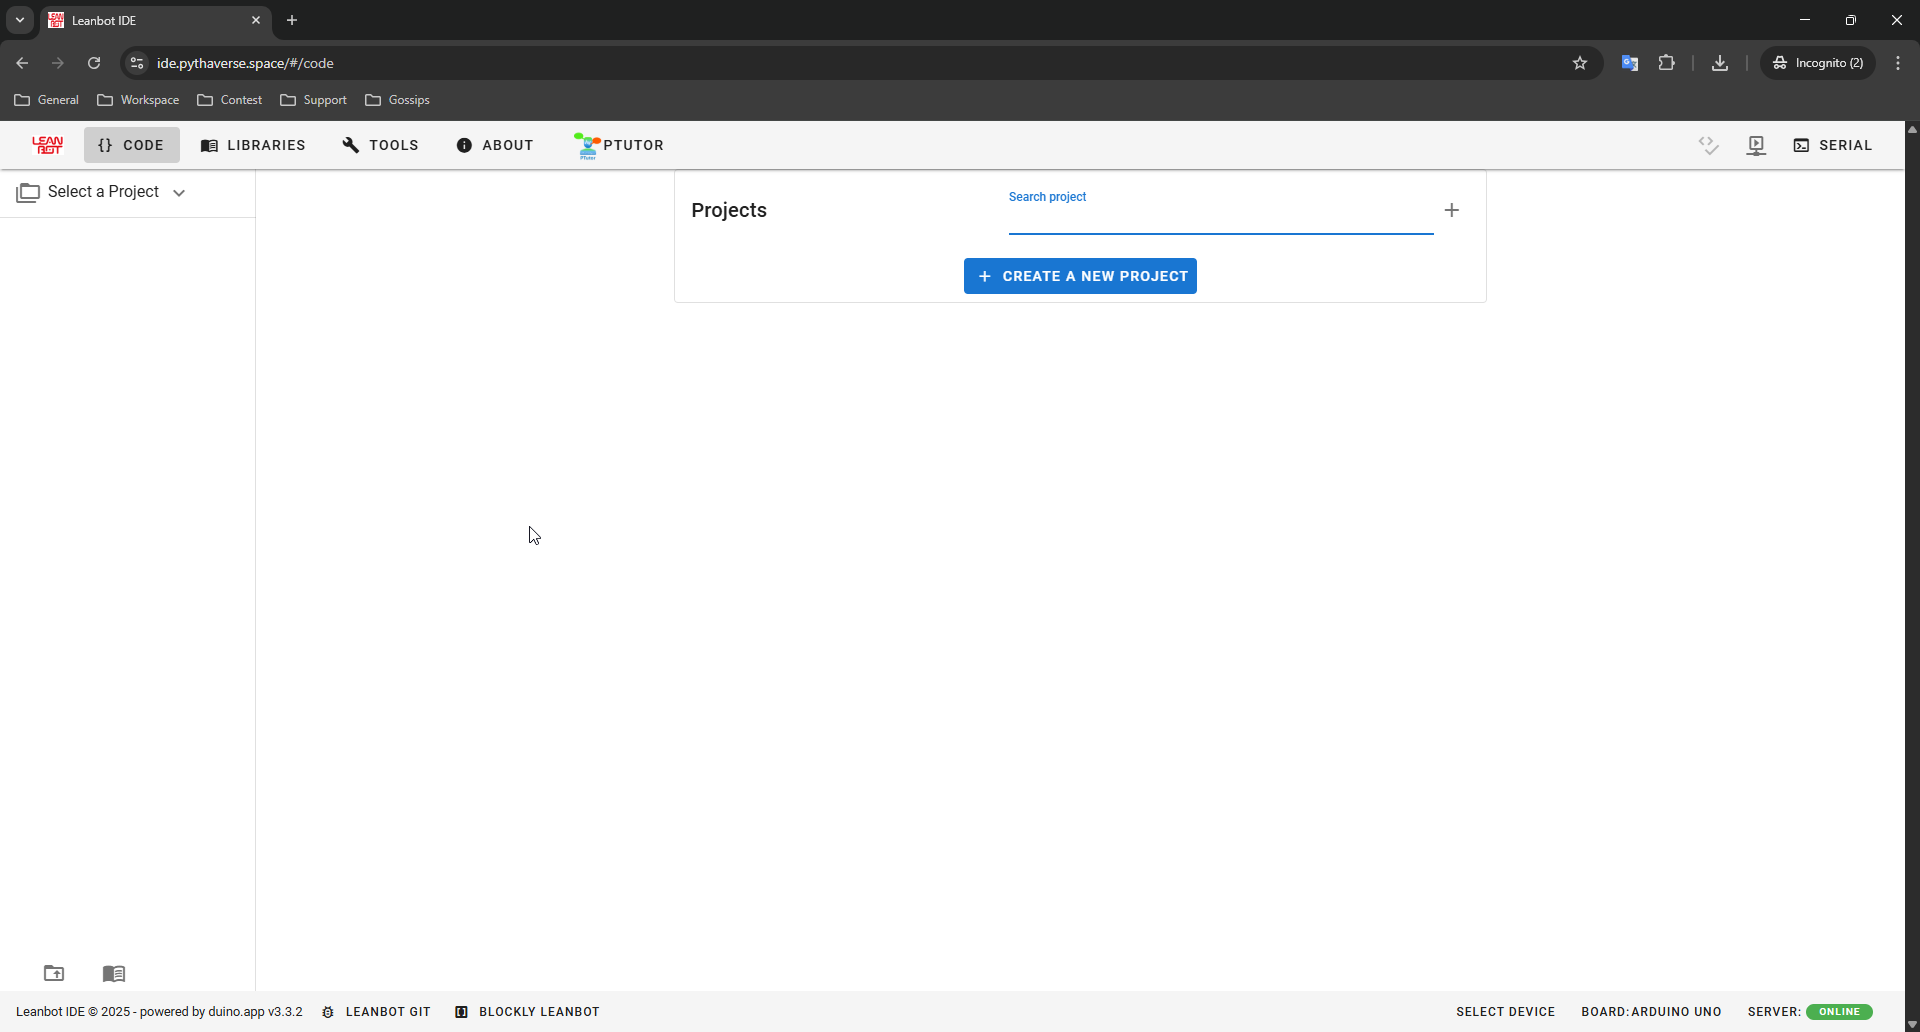
- Step 5: Create a Project and Write Your Code
- Click “Click a new project, enter a name for your new project then hit “Create”.
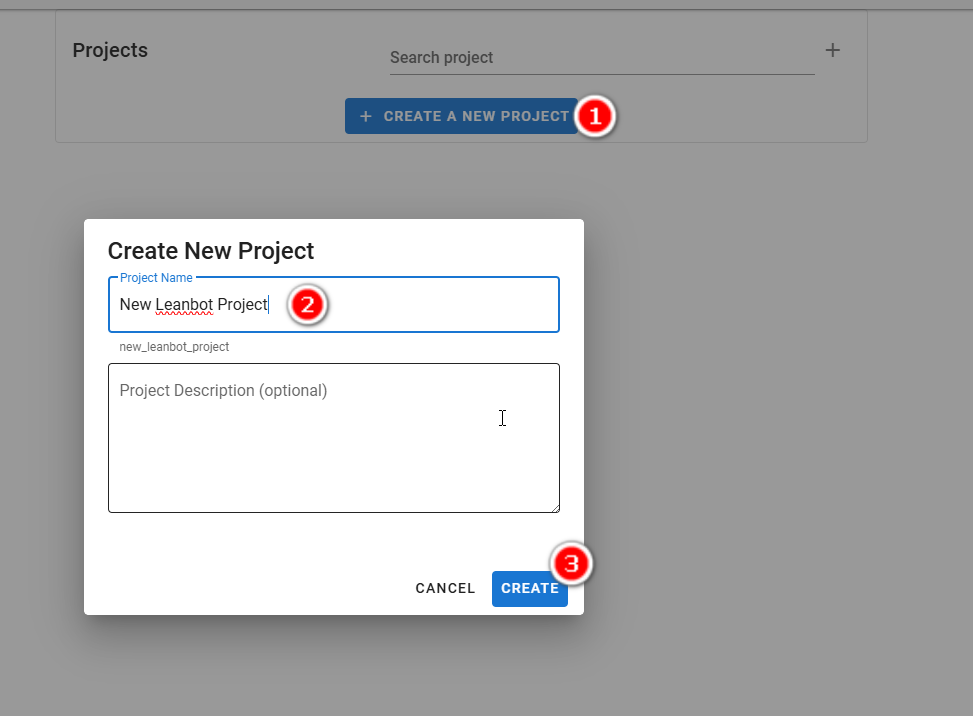
-
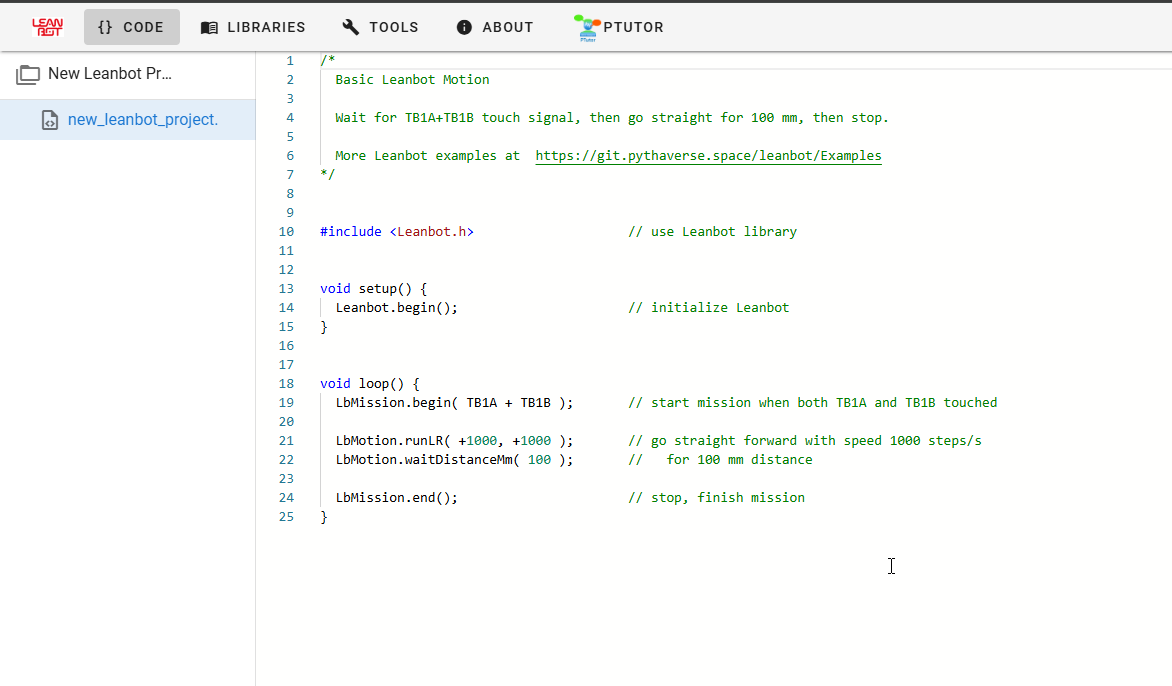
- Use the web-based programming interface to create your program for the robot.
Phase 3: Uploading Code to the Robot
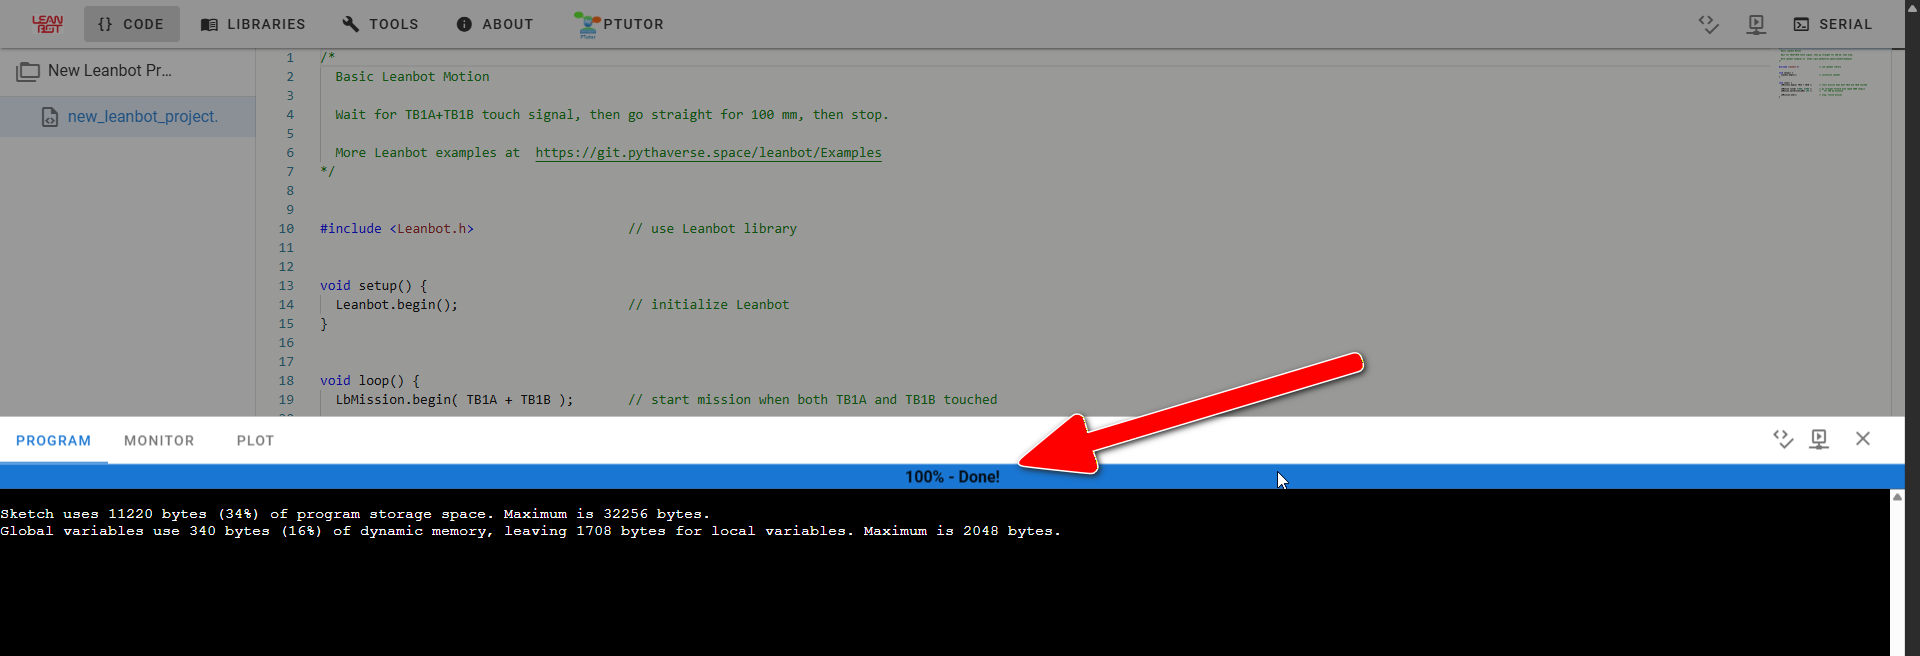
- Step 6: Compile Your Code
- Once you have finished coding, click the “Compile” button.
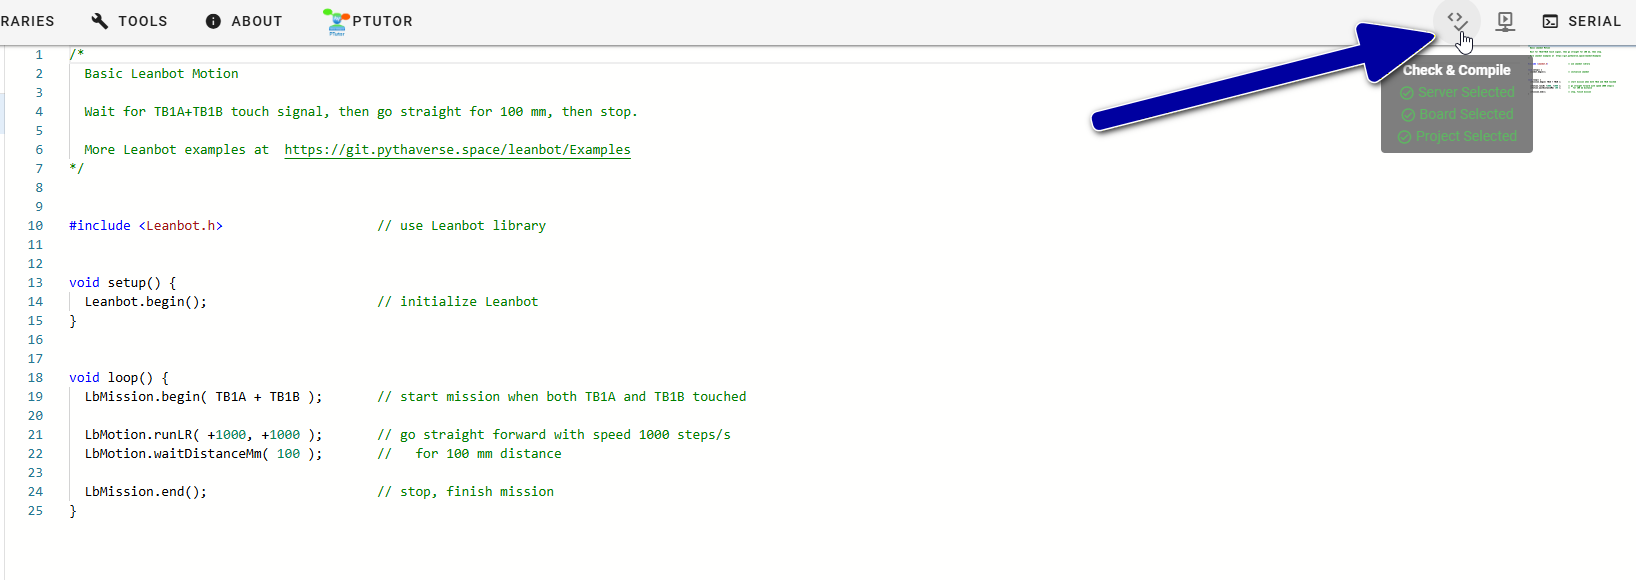
-
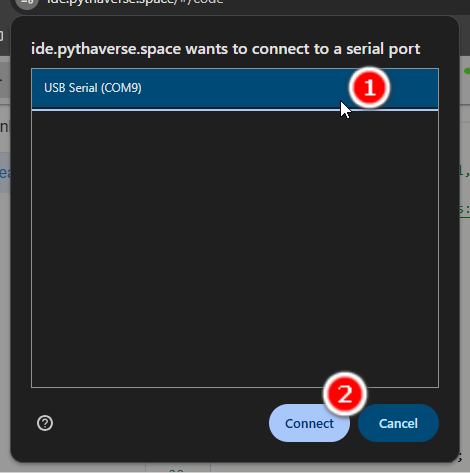
- A browser pop-up window will appear with a title similar to: “ide.pythaverse.space wants to connect to a serial port”.
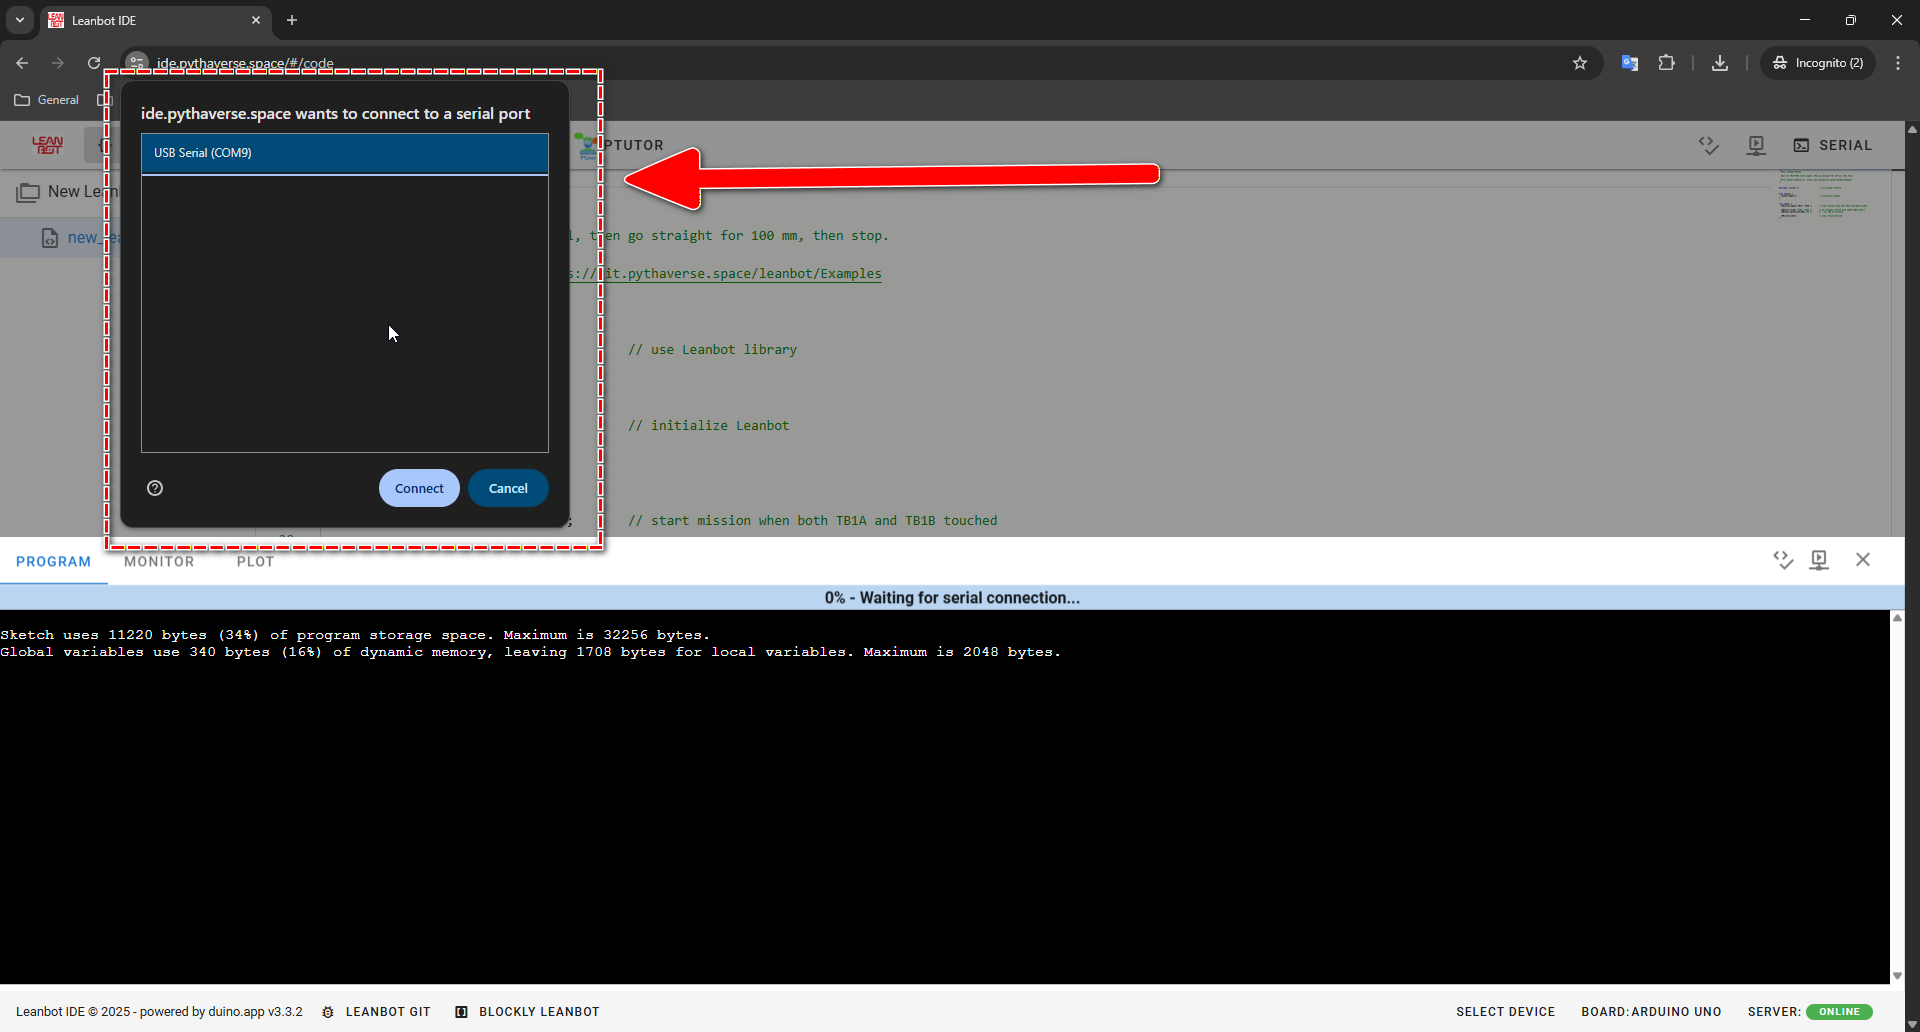
- Step 7: Select Port and Connect
- In the pop-up window, find and select the correct Serial port that corresponds to your Leanbot.
- After selecting, click the “Connect” button.
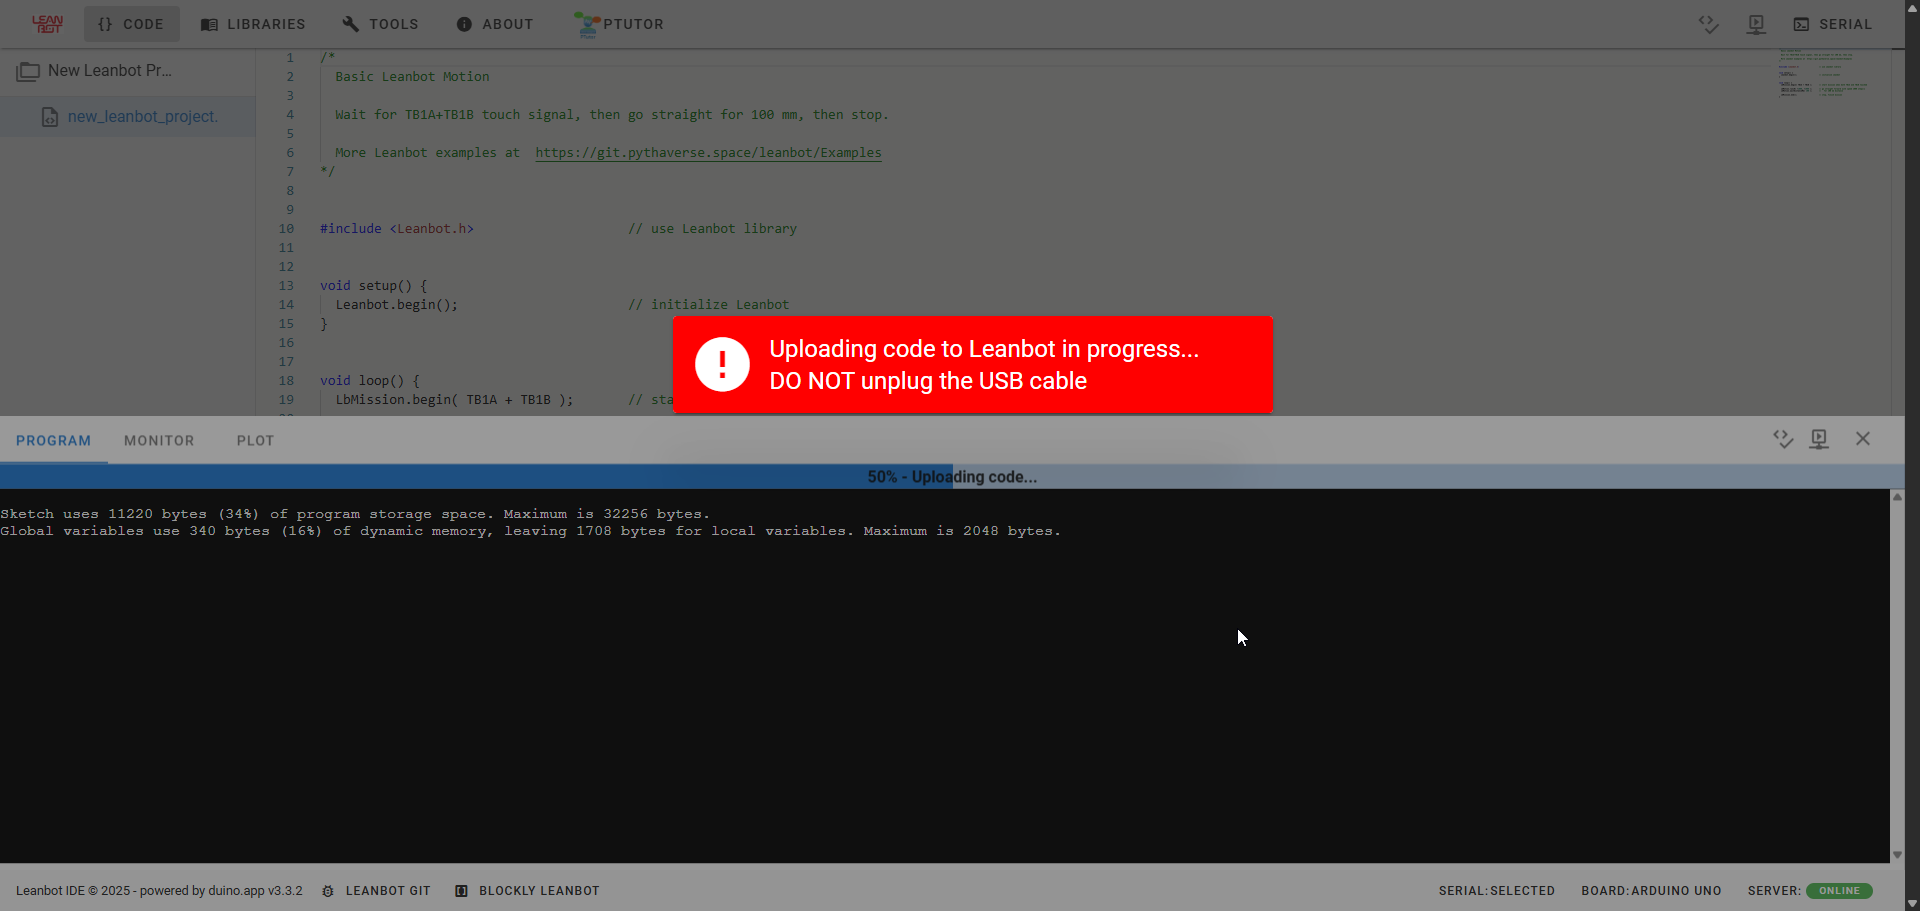
- Step 8: Upload and Wait for Signals
- The system will immediately begin uploading your code to the robot. You will hear a single “Beep” to signal that the process has started.
-
- IMPORTANT: Do not unplug the USB cable at any point during this process.
- Upon completion, the system will display a success message, and you will hear a sequence of sounds: one “Beep” (signaling the upload is finished), followed immediately by a “Beep Beep” (signaling the robot is ready to run the new program).